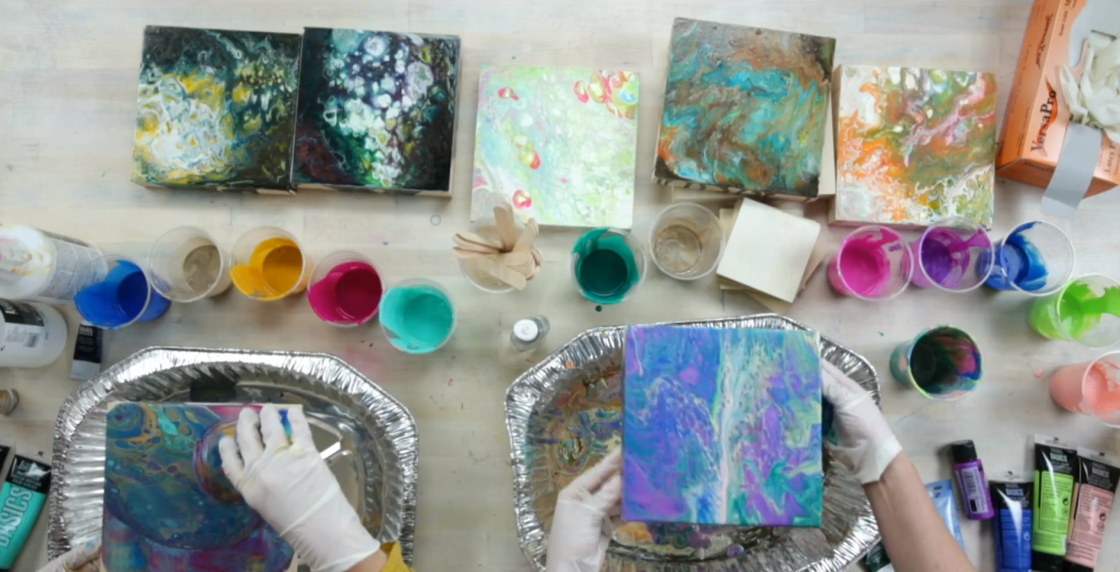
Above: Sample slide from my CreativeBug wrapping paper class.
______________________________________________________________________________________________________________________________________________
Looking for a new hobby? Embrace your artistic side, and check out Creativebug! Creativebug allows Edwardsville Library cardholders unlimited access to thousands of online art and craft classes, all of which are taught by recognized design experts and artists. Watch classes anytime, anywhere. Since their classes never expire, you can start and stop projects at your own pace. No pressure, just endless possibilities!
You can find Creativebug on the “Resources” tab on the library’s website at www.edwardsvillelibrary.org. Please ask library staff if you’d like any more tips for using this wonderful database. We’re happy to assist you.
Painting is something that I have always enjoyed, but fell out of almost a decade ago. Recently, I’ve been trying to jump back in…with mixed results. With that in mind, I tried to find a craft that would be simple, fun, and have almost guaranteed results. Doing an acrylic pour seemed like the obvious answer.
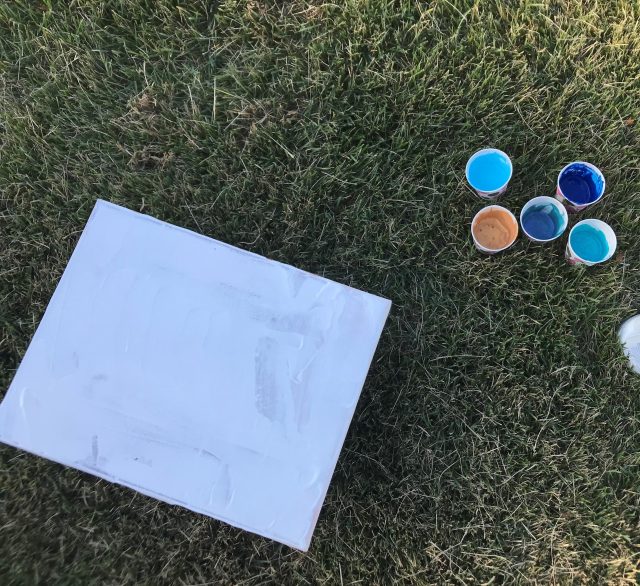
Beginning the Process
To start the process, I painted a previously used canvas with a layer of white paint and allowed it to dry. While it was drying, I worked on thinning out the rest of my colors. This was a fairly simple process, adding silicone and pouring medium into the colors divided into cups. The consistency seemed right, so I feel like I could successfully do this portion again.
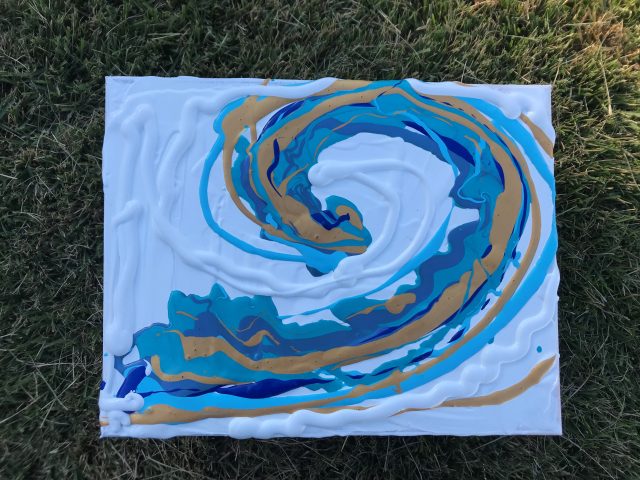
A Change in Plans
Here’s where things start to go off plan. This is in no way the teacher’s fault at all! My own inexperience led to some issues. While the colors themselves were mixed well and thin enough to pour, the white acrylic I bought was not. However, it claimed to be made especially for acrylic pour and flow work, a claim I took at face value. This turned out to be false. It was incredibly thick and wouldn’t move when the canvas was tilted. I should have mixed it with pouring medium, but by that point, it was already on the canvas and I had to adapt and work with it.
My intent was to use a combination of the different techniques mentioned to create a wave like effect. But it quickly became apparent that the white paint was not going to function as it should. I decided to scrap the idea (to try again later) and smear the paint on the canvas. My thought process was that, regardless of the issues, this would look beachy enough given the colors I’d used.
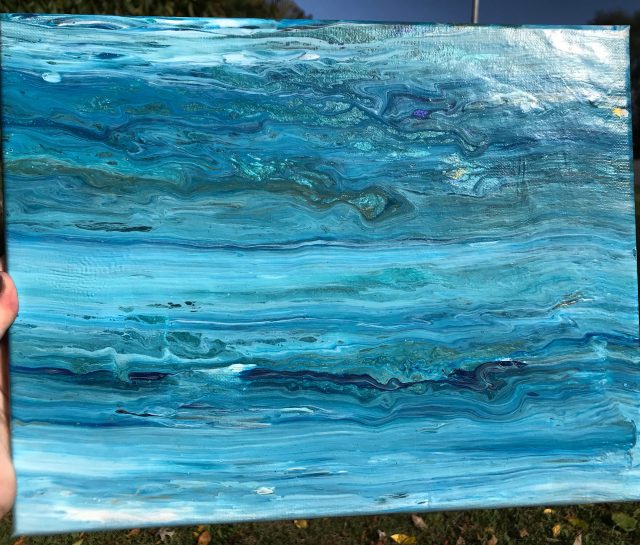
The Final Results
After I had smeared the paint around I decided to use a cool technique using a paper towel to drag the paint along the canvas. This ended up being a huge success! Simply wet a paper towel (or two depending on canvas size) and drag it from top to bottom of your canvas. To activate the silicone in the paint and create the beautiful cell like structures acrylic pours are known for, carefully use a torch or candle lighter to go back and forth over the paint while it is still wet. Only if you want to, of course!
The end result came out far better than I expected, especially given the hiccups! Now that I've got some experience under my belt, I'd happily try this again!

About the Author
Devin loves traveling, her cat Pippin, and everything Tolkien.